| When I was ain my teens, my grandfather entrusted his model railway layout to me. I redeveloped it in the loft of my parents' home and really enjoyed the hobby. However, when I went to university at 17 my parents moved house and I had to dismantle it after my first term. I got married in the 1980s and my wife and I bought our first house. My parents were keen for me to take anything belonging to me to my own place and so the railway gear moved too, and lived in my garage until we moved house. Then it lived in a box in the garage of our new house and I finally got round to making a layout at the end of last year when I semi-retired.
I wanted to include a tunnel on my new layout along one edge, but despite having a sizeable layout, it was quite tight for space in the required location. As I enjoy 3D design and printing, I decided to make the tunnel structure this way, and to make use of the 28mm (H) x 5mm (W) strip wood that runs along the edge of my layout to locate and secure it.
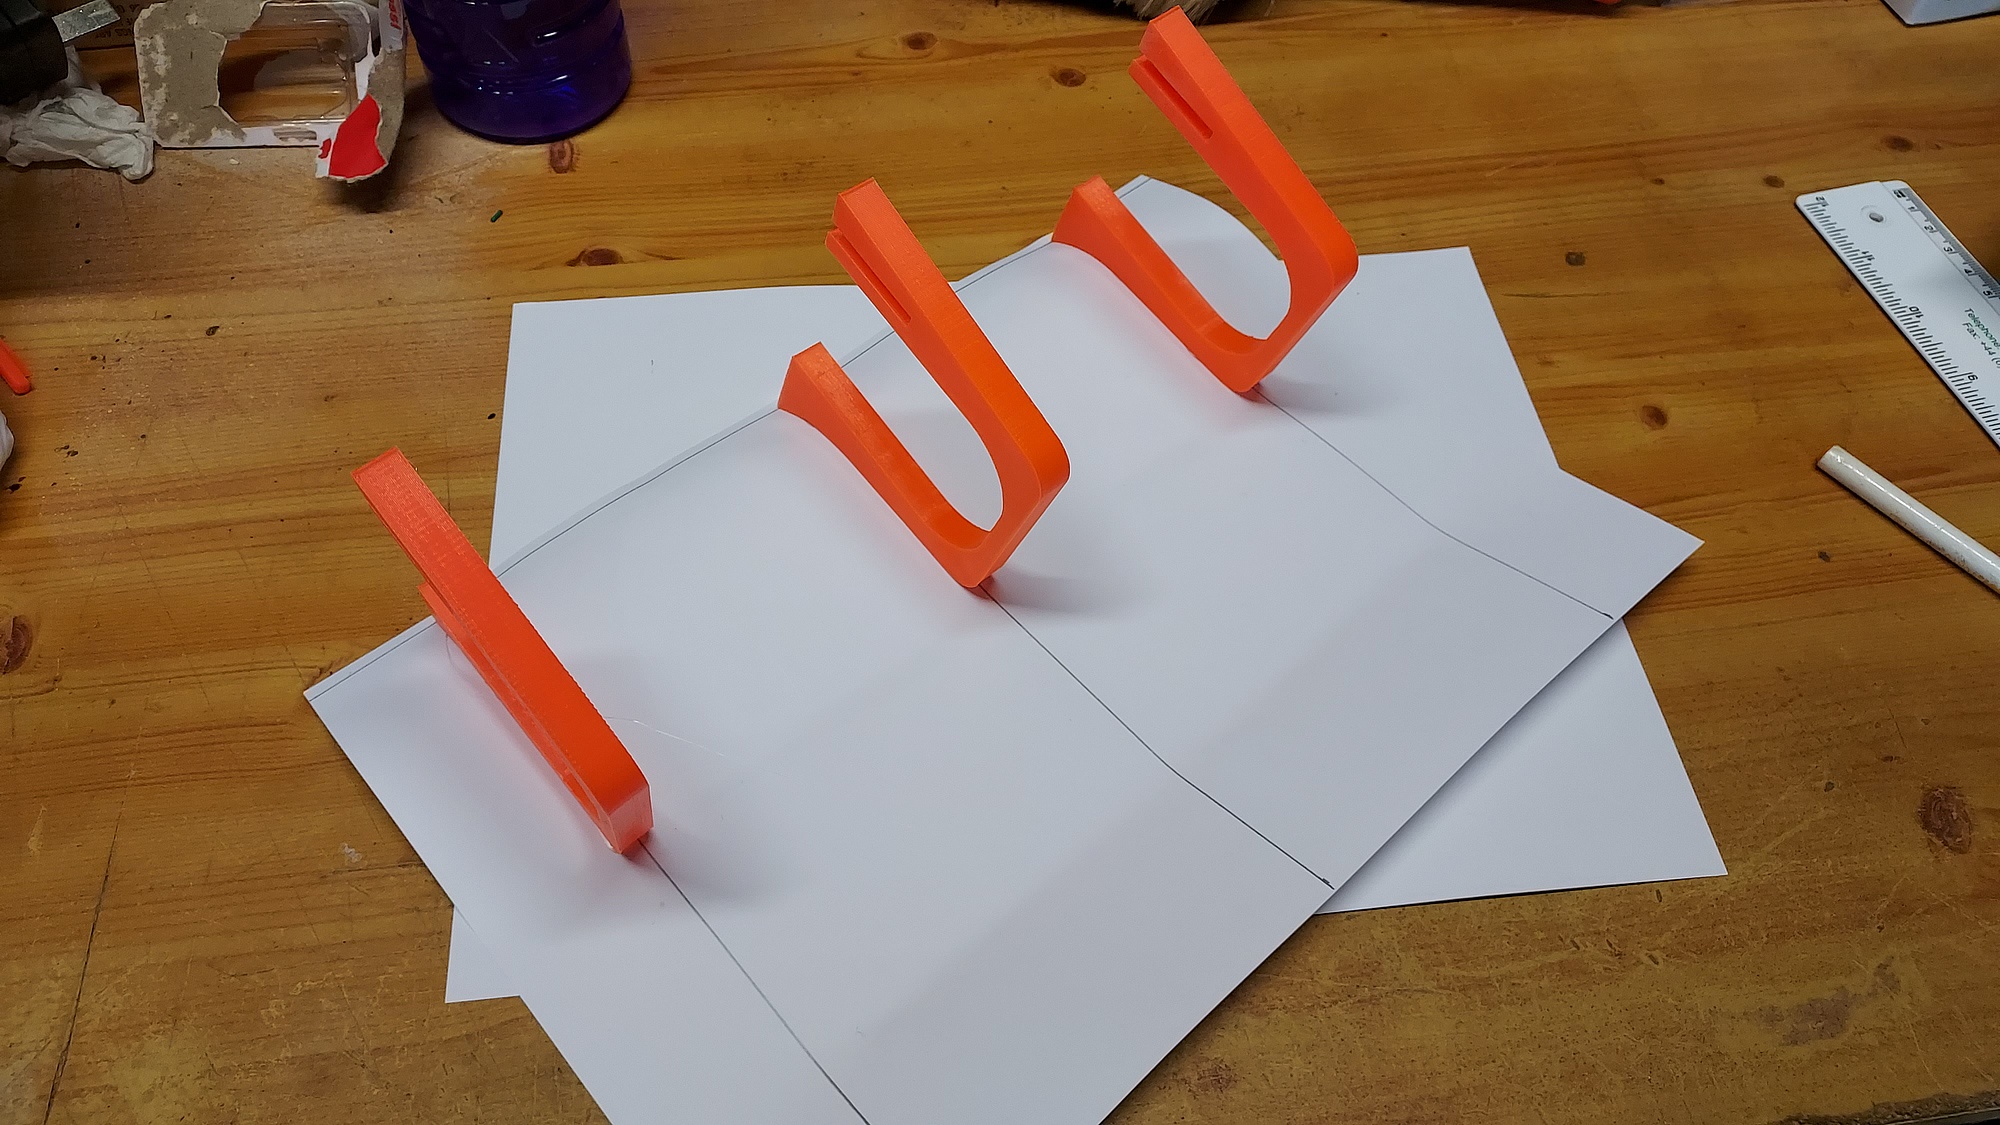
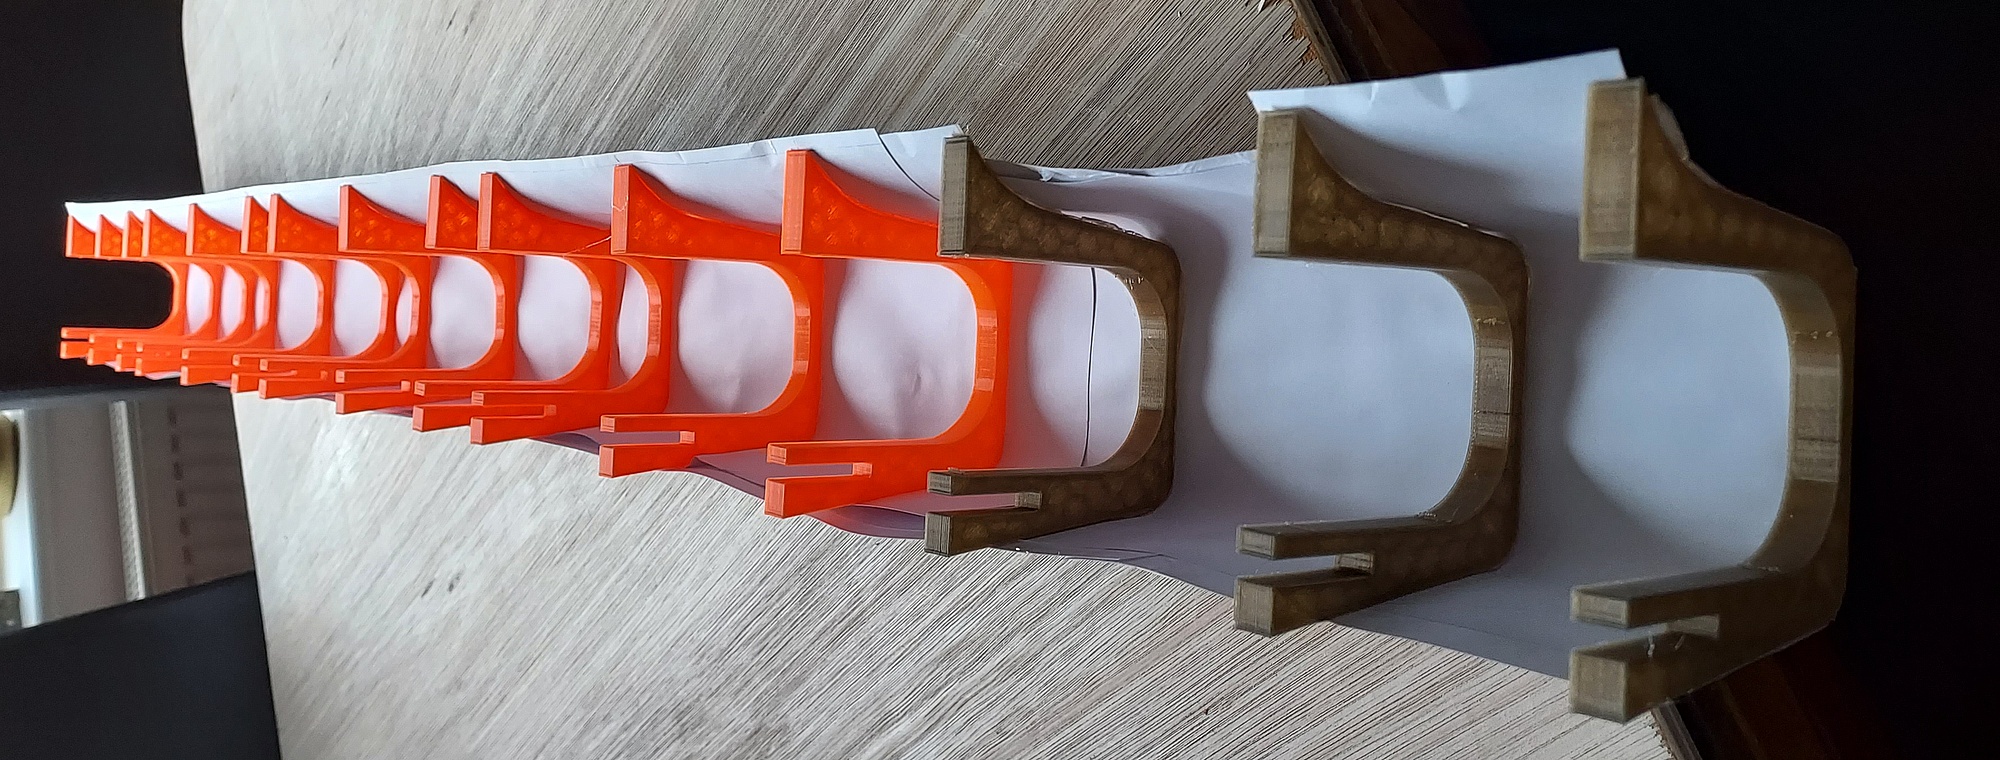
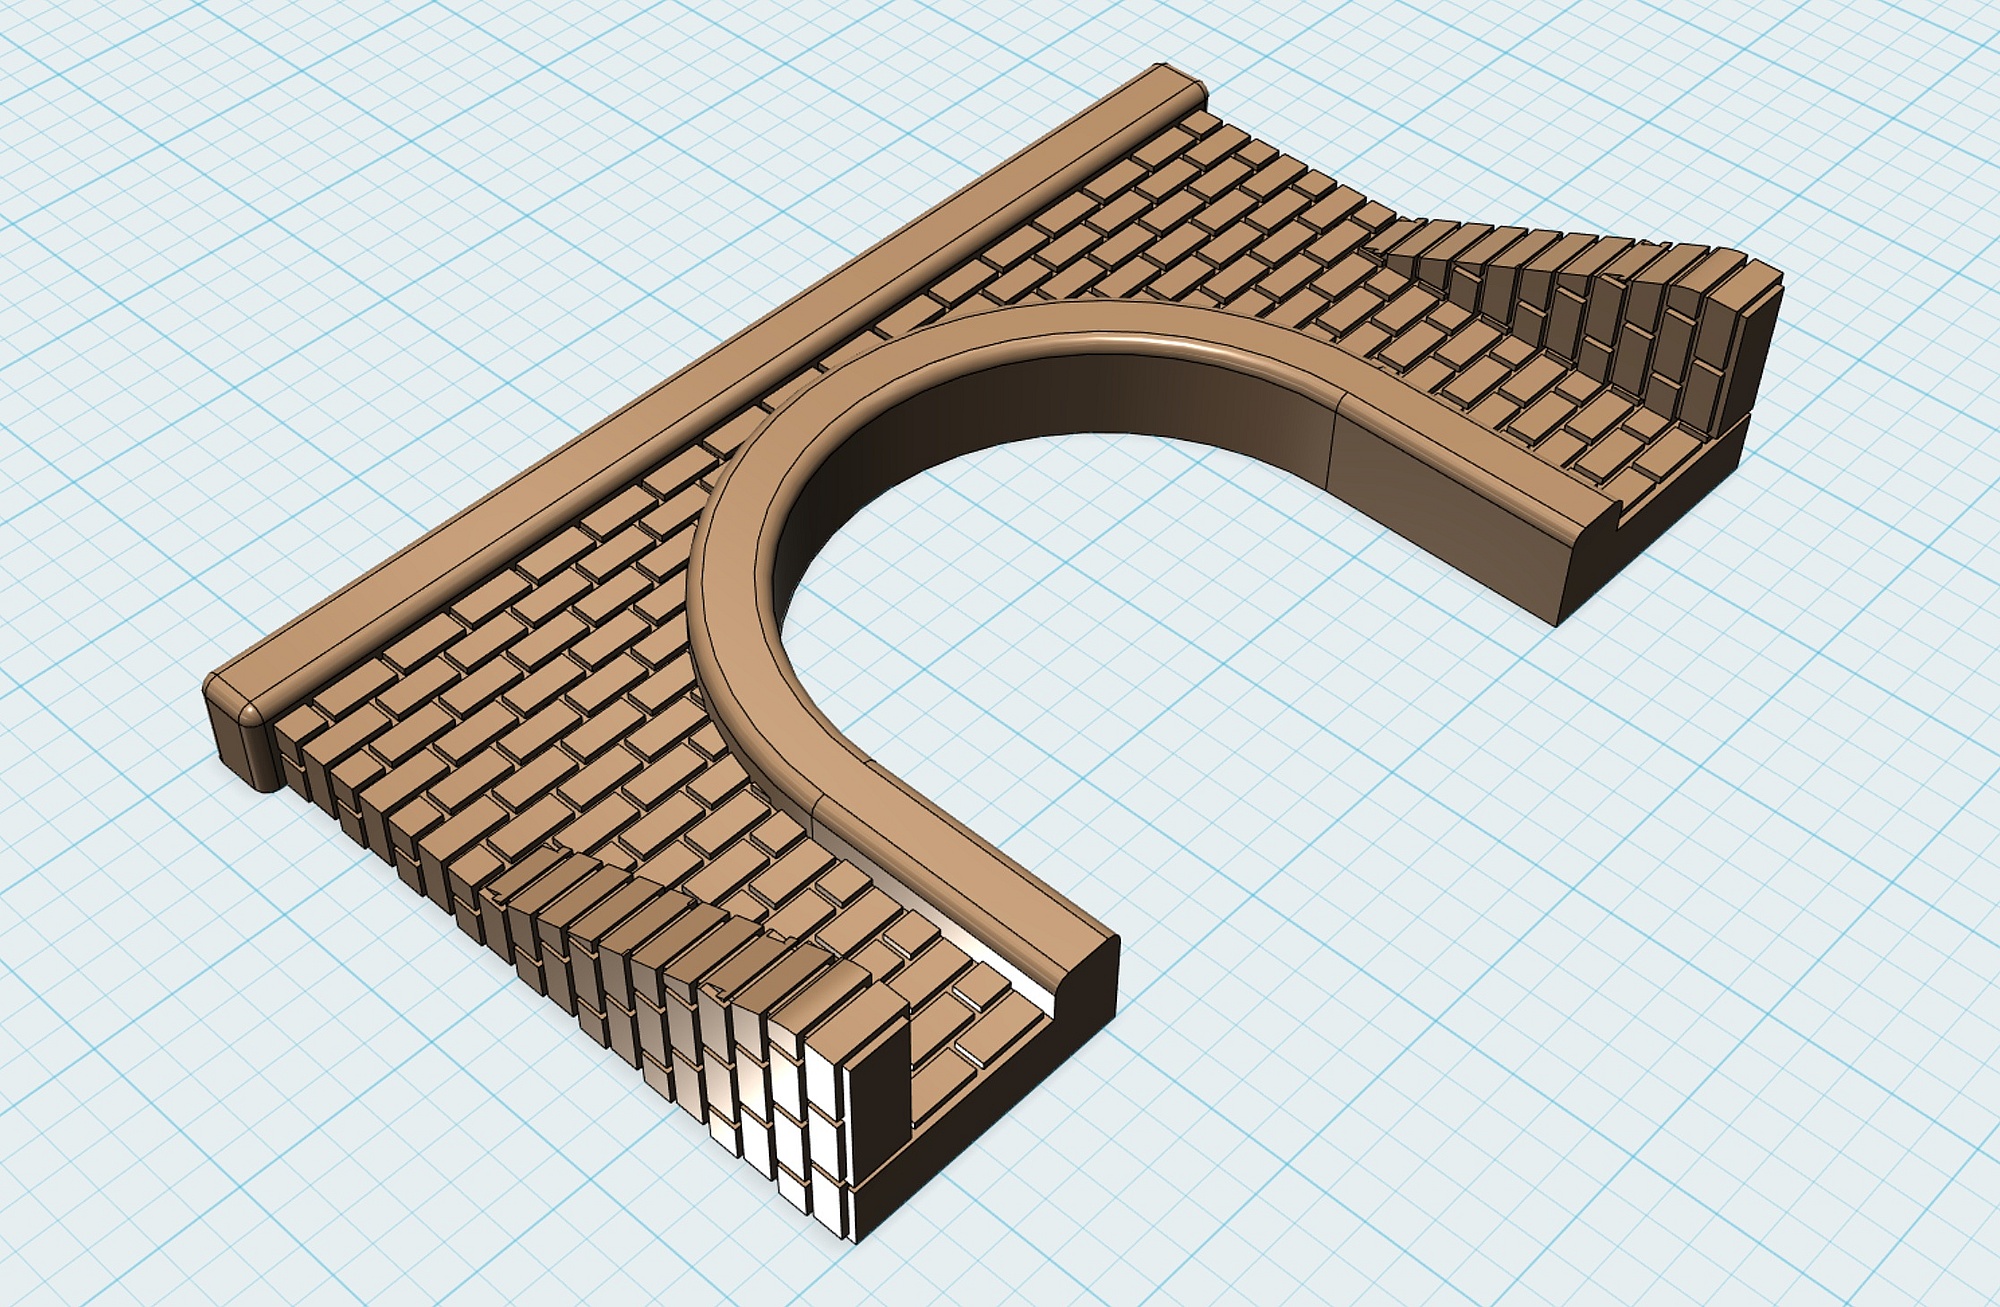
I designed a number of supports that fit snugly over this wooden strip:
The main section of tunnel was then made by hot melt glueing A4 card to the supports:
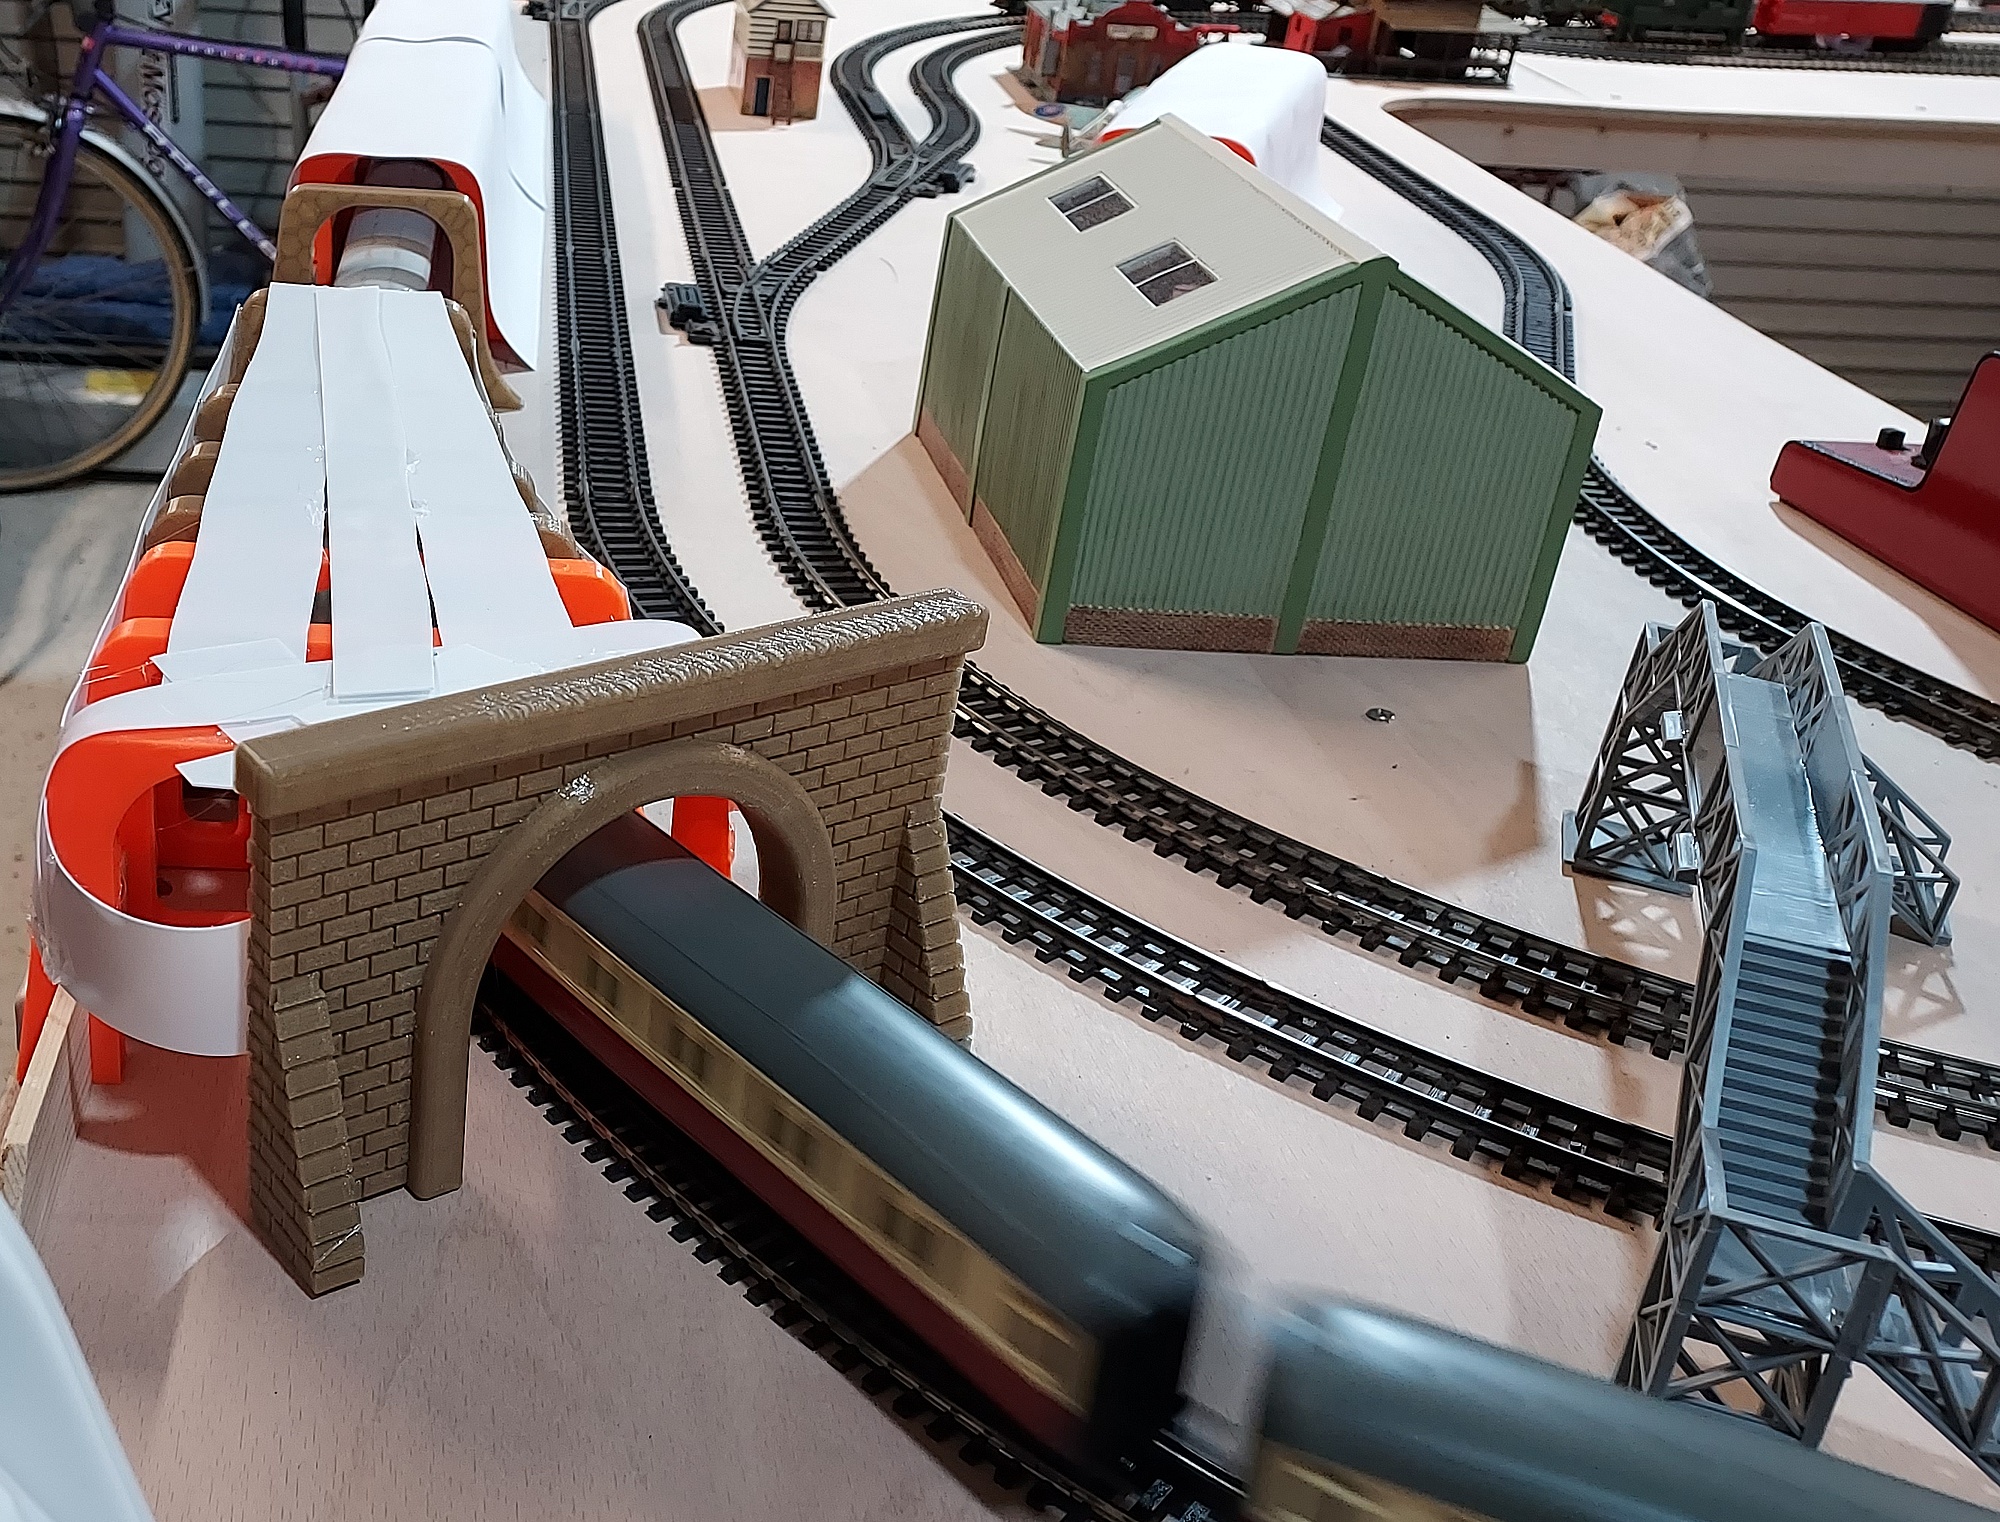
The curved section of the tunnel is more critical in terms of positioning of the supports, so I stabilised this in-situ using strips of thin polystyerene about 20mm wide:
As you can see from the photograph, I checked clearances several times during this process.
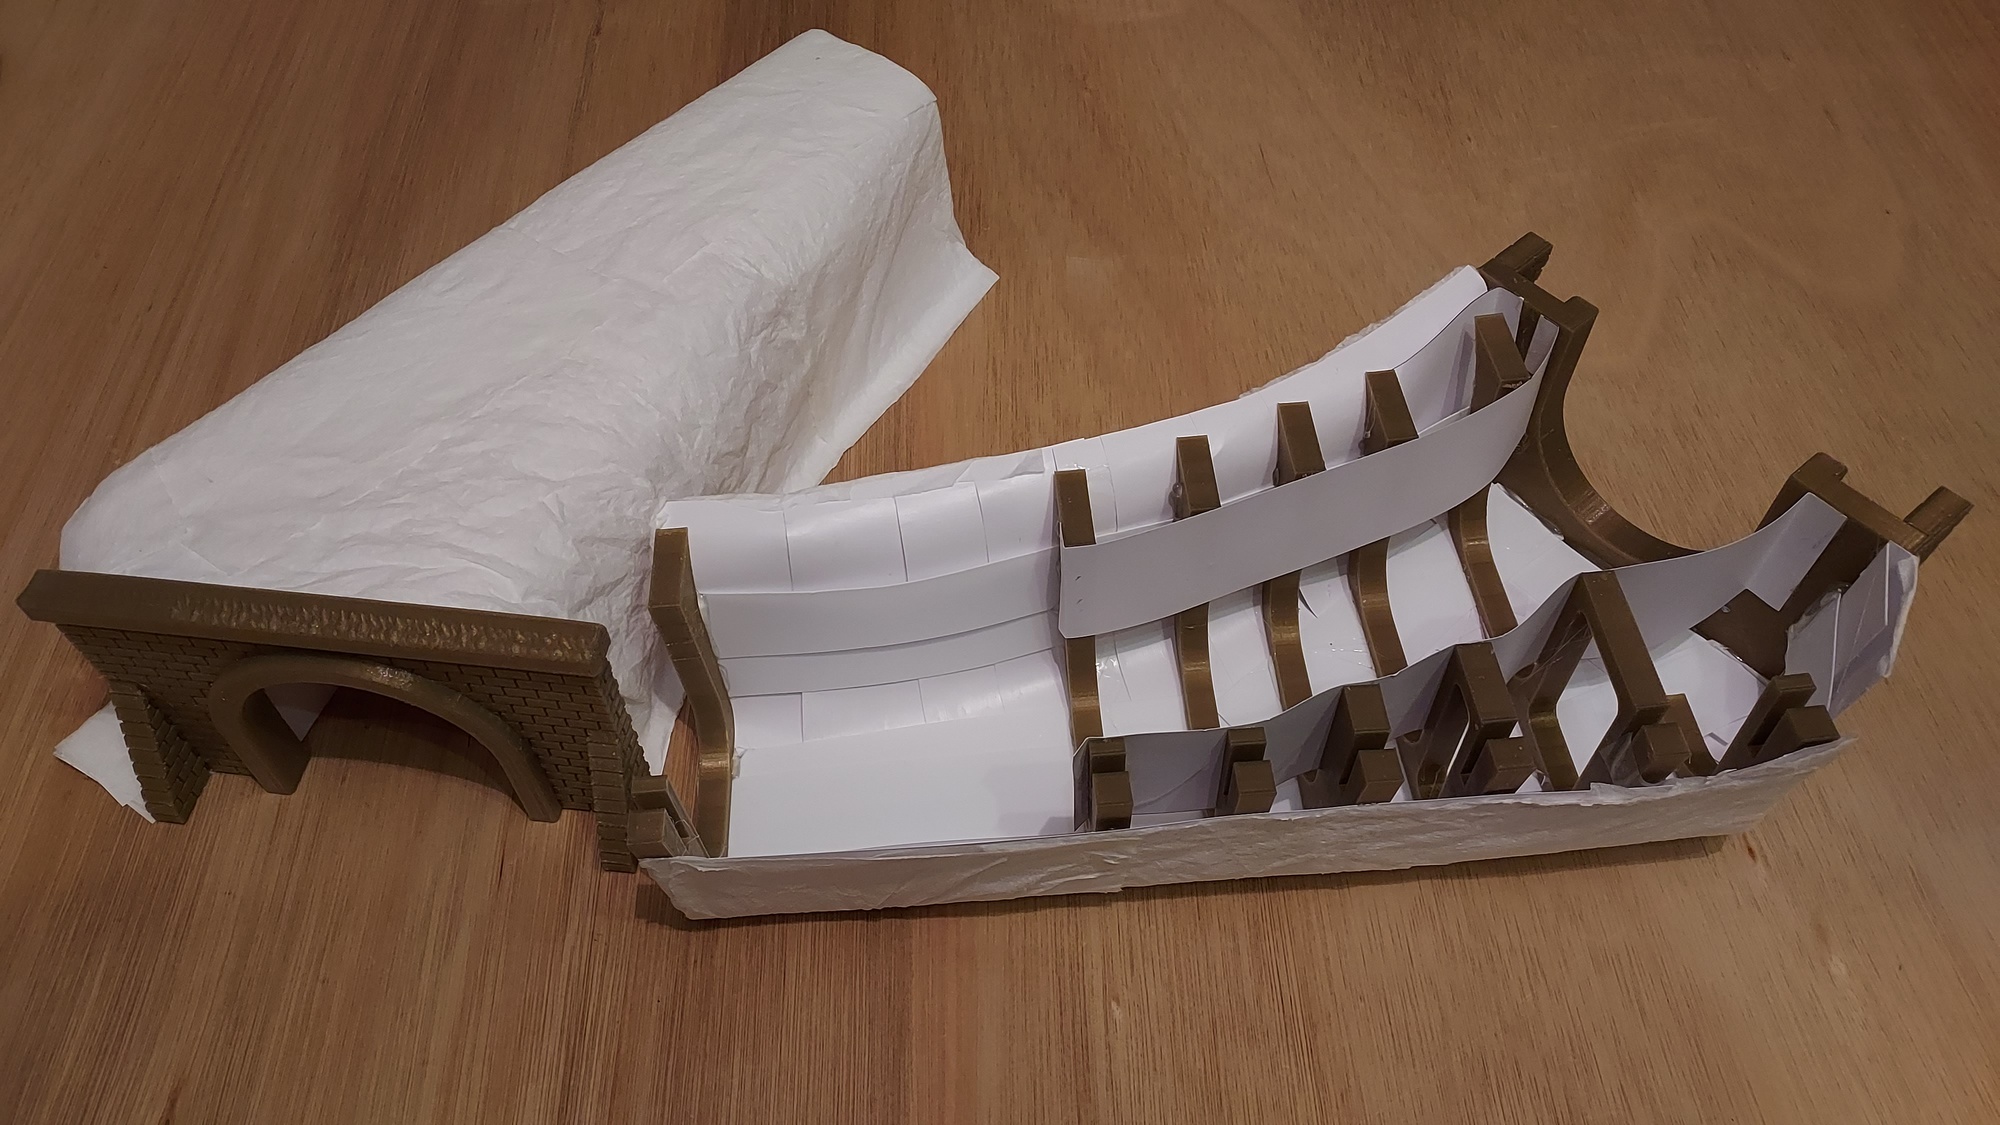
I was then able to remove the two curved sections and build then up with card, and finish with crumpled kitchen towel:
In hindsight, I didn't really need to change the design of the straight section sides of the supports; they are quite strong enough printed in PLA. One thing to note - the narrow section overlaps the straight section of track by about 40-50mm. This is important so that the front edge of steam locomotives can't graze the end support. If the track is positioned exactly midway between the 55mm wide support, this isn't so important, but mine is slightly closer to the wooden strip, so it's pretty tight!
I made the main section of the tunnel in A4 length sections and finished the two opposite ends with a support. Then I could position them together with the curved sections to get the length correct. It was then easy to finish the straight length separately with card and kitchen towel:
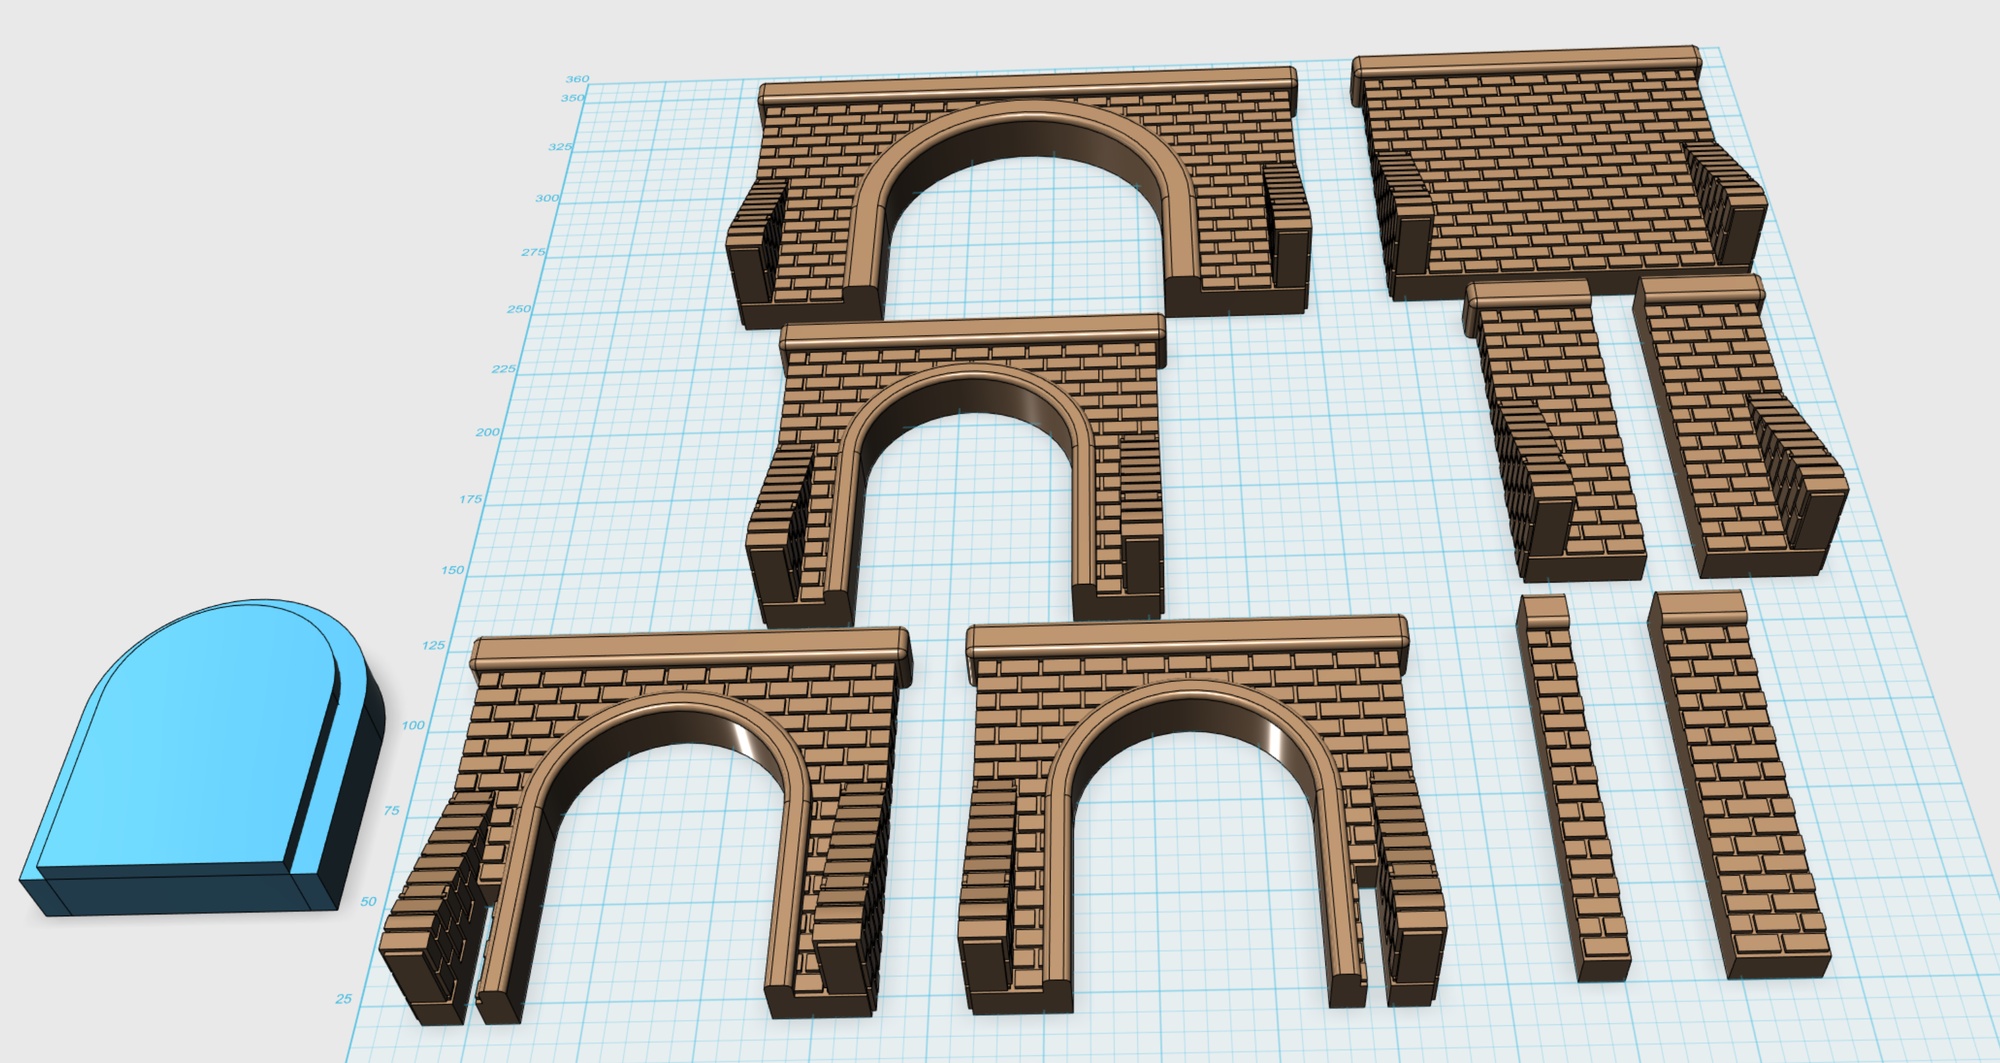
Originally I was going to buy tunnel mouths from my local model shop, but they didn't have anything quite suitable for the curved single entrances. So I decided to design my own:
However, when I was testing out the final components, my wife commented that she thought the tunnel was too long and that the train would disappear in it (actually this was my plan). As I'm designing the layout partly for my grandchildren, I think hard about this, but then I had a brainwave; as the tunnel is designed to be removable in 3 sections, I could also make small tunnel mouths for the straight section, or the straight ends of the curved sections:
This gives me the flexibility to use just the main straight section, or one curve and the main section, or all three etc. - 6 combinations in all. You can see I also made intermediate pieces that can be used to easily adapt the design for other widths, if needed.
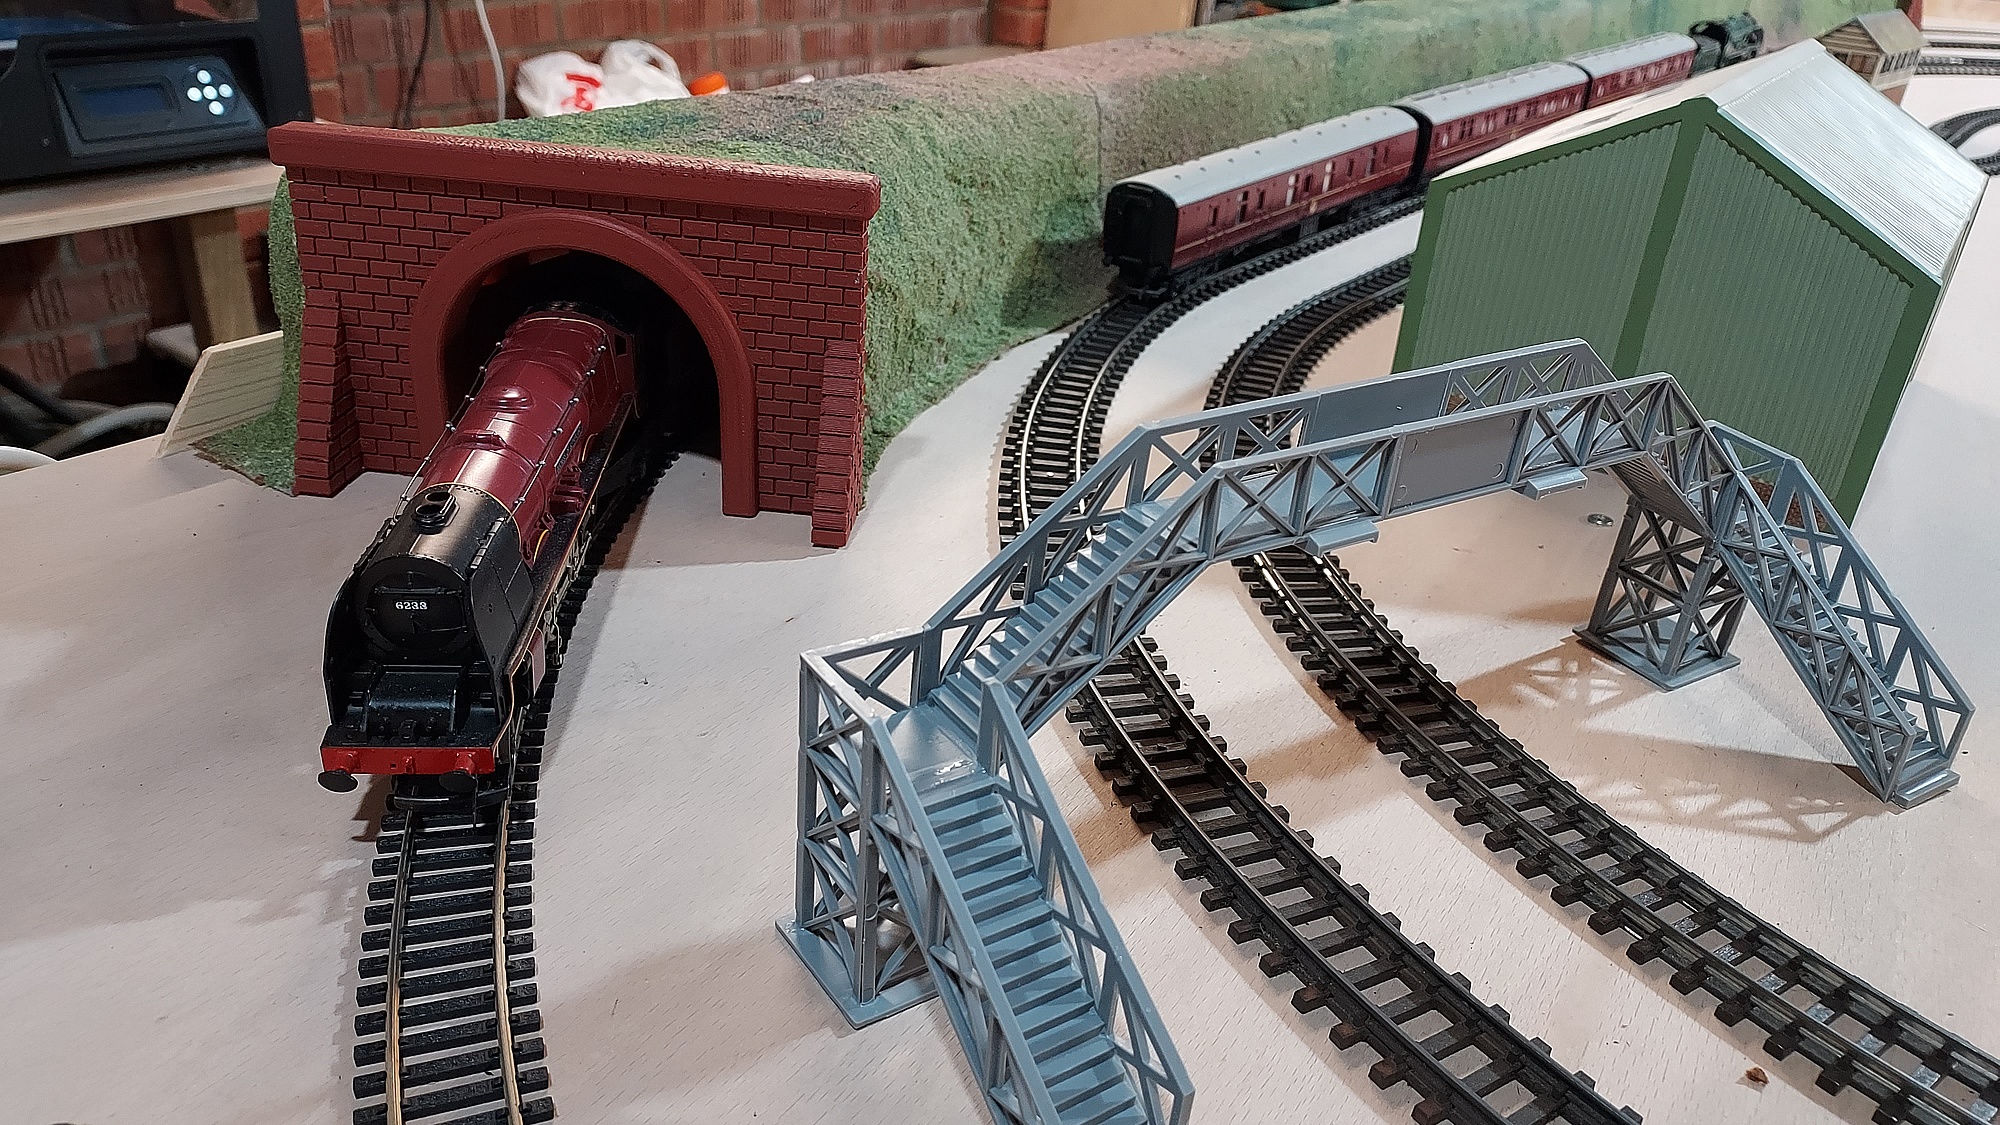
Here is the finished result:
And here is one of the single straight tunnel mouths - as it uses the same vertical slot, it secures on the vertical side strip and doesn't need to be attached to the main section of tunnel. 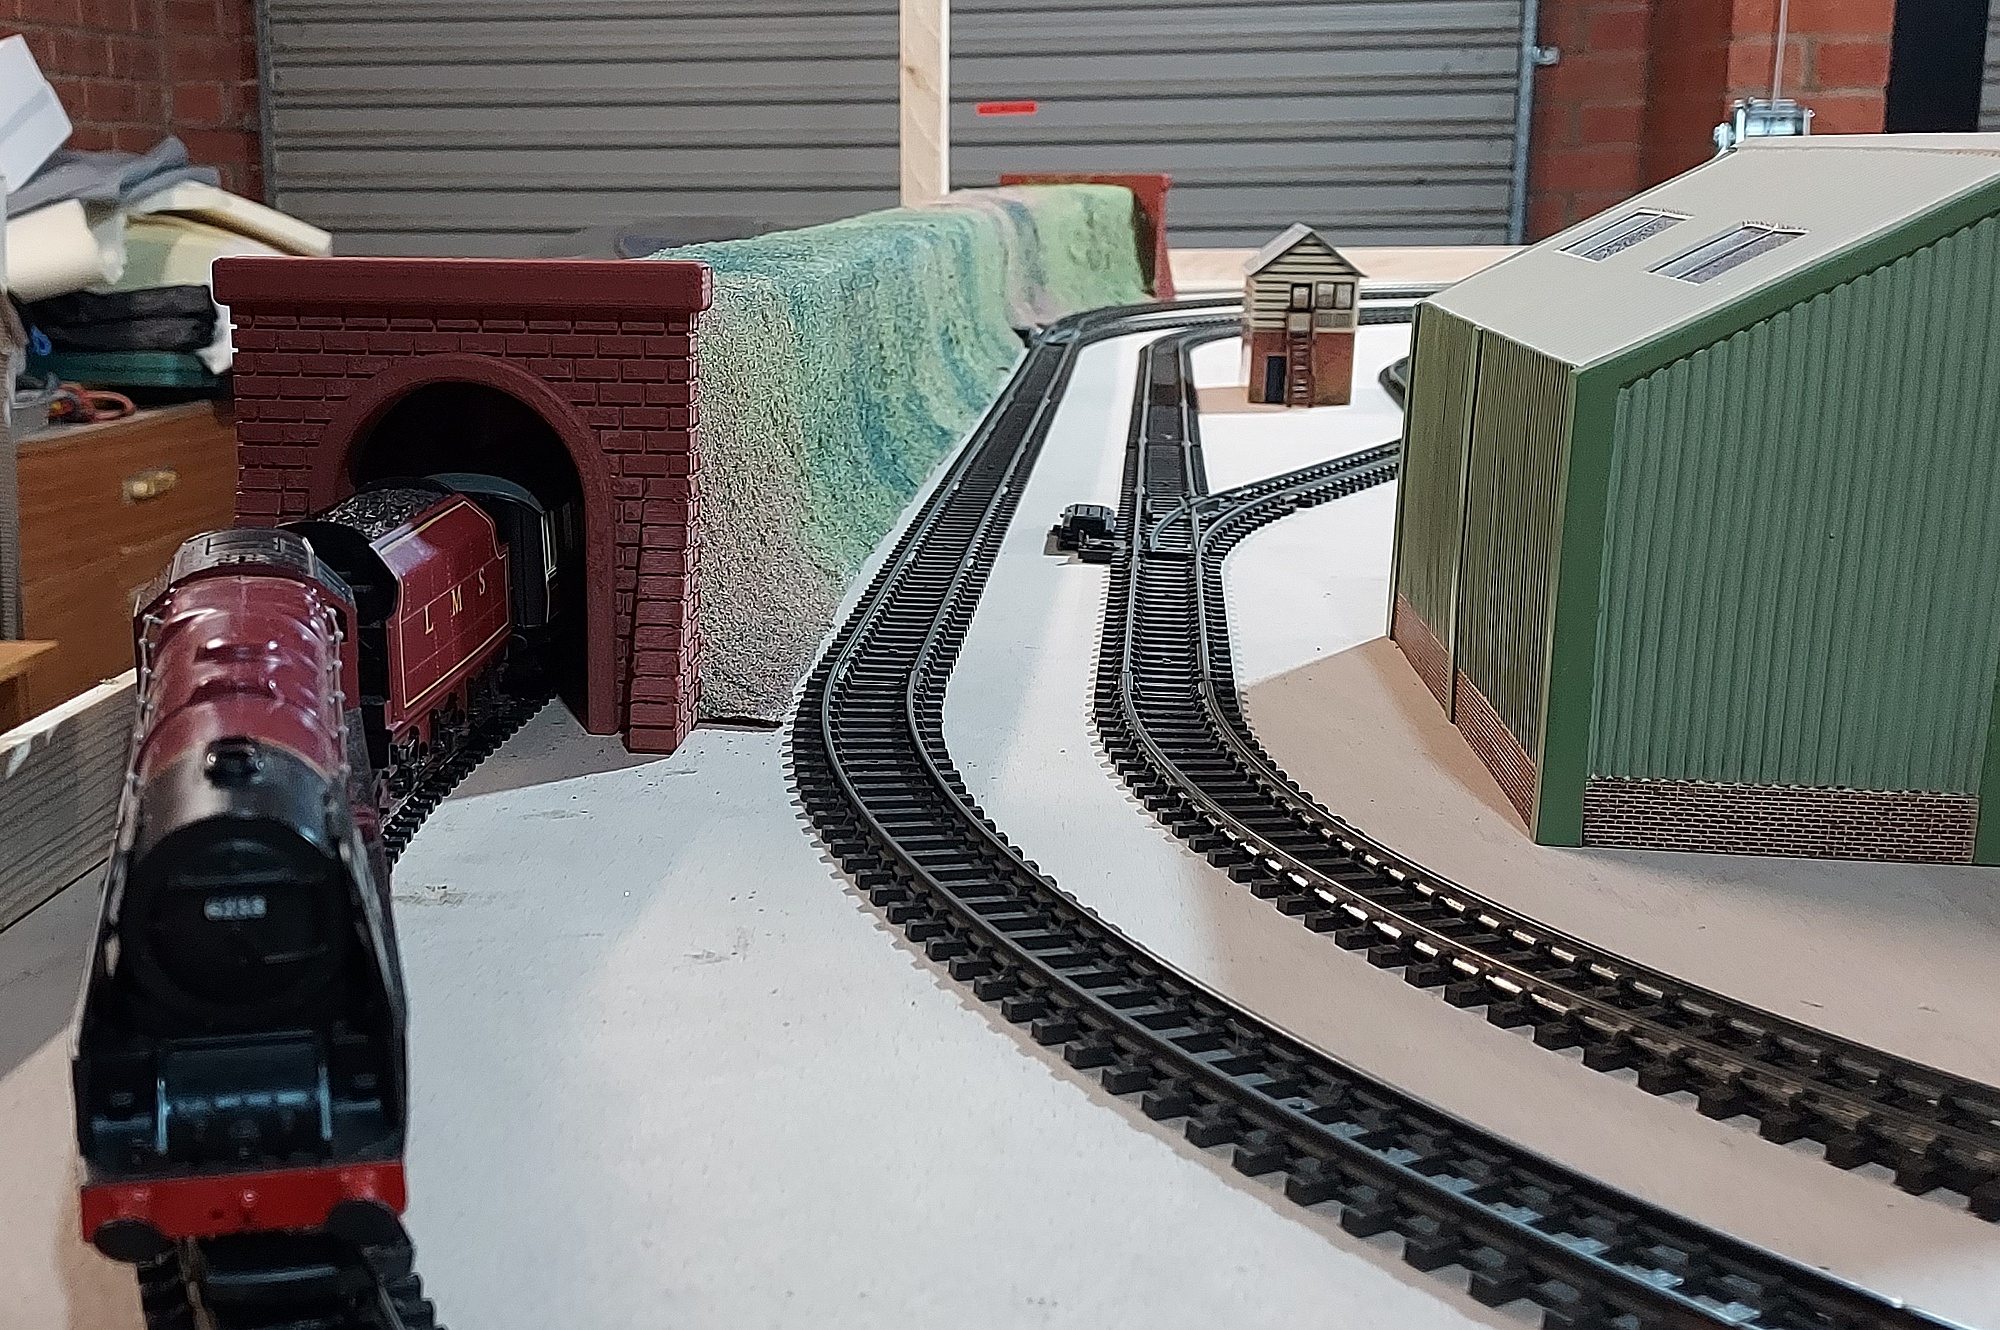
23 January 2024 |  Kevin Millican